Blazor and TailwindCSS
A bit on Blazor

Blazor is a relatively new framework from the dotnet team that takes a different approach on creating web applications.
It allows you to write code in C# for both your frontend and backend needs, however the big difference between Blazor and other frontend frameworks is the hosting model. You can read more about this in my previous blog post.
What's the deal with Tailwind CSS
You might think tailwind is just another framework, but one quick glance at the frameworks site reveals that it was very carefully crafted by a team of experts.
It is very quickly rising in popularity due to it's utility based nature and the ability to write CSS without actually needing to write a CSS file in the first place.
As if that alone is not enough to love the framework, due to the build process of Tailwind, the size of your CSS will most likely be smaller than even a carefully written custom css framework's size would be.
Using Tailwind CSS with Blazor
Installation and initialization
Since Blazor is a dotnet framework and Tailwind is a node framework, there are some hoops you need to jump through to get them working together.
Firstly you need to create a package.json for your project if you do not have one already.
You can do this by running npm init in your root folder next to your project file.
After you go through the package creation steps, you will need to install tailwind css and the needed dependencies.
In that same folder run the following command:
npm install tailwindcss autoprefixer postcss cross-env
Autoprefixer is a requirement for tailwindcss to work, and you need postcss and cross-env to actually build our development and production CSS builds.
Next you will need a tailwind css configuration file, you can do this by running npx tailwindcss init, or you can just create a "tailwind.config.js" file in the project root with the following contents:
A very important part of the file is the "purge" configuration section. To let tailwind know which classes you are using and which classes it can purge (remove) from the produciton CSS build, you need to let it know where to look for your html.
Since you are using Blazor, you need to include all your Pages and Components, but make sure to add any additional folders here that you might need to watch.
Before you can set up the build process, you also need to create your css file.
You can either add the following to your css file, or create a new css file, but make sure to modify the build scripts in the later section of the blog post to include your files path instead of this one.
Create the tailwind.css file in the following location:
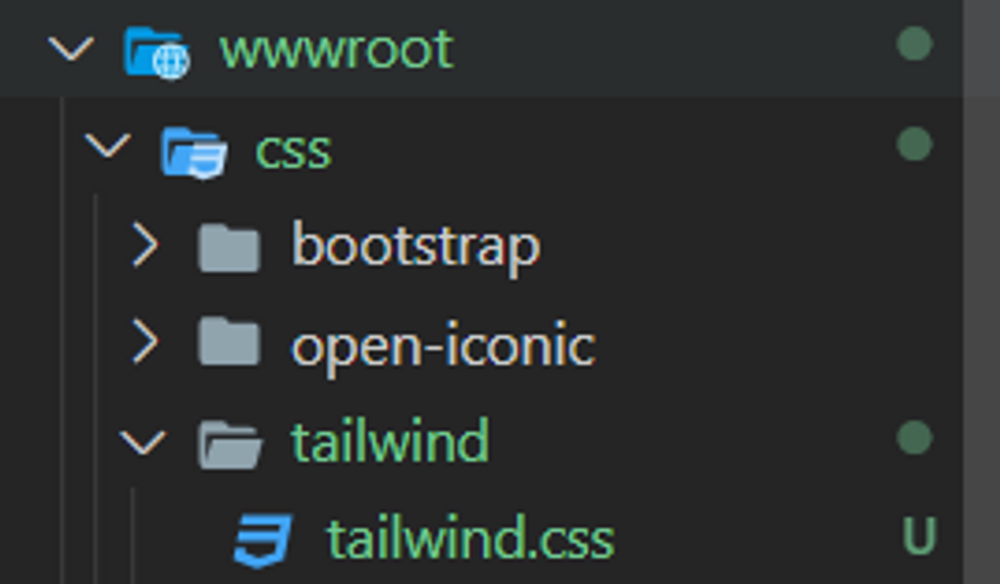
With these contents:
PostCSS Config and build scripts
To actually build your CSS you need to create a PostCSS configuration in your project root.
Create a file called postcss.config.js with the following contents:
This tells PostCSS to run the tailwindcss and autoprefixer plugins on your css when building it.
Now let's add the build scripts to your package.json file.
This is my complete package.json file, yours will be a bit different but the important part is the "scripts" part.
You can see two scripts in there, one will build your CSS for development purposes, the other will build the production, purged build.
Notice that we set the NODE_ENV environment variable to "production" in the second build. This tells the tailwindcss CLI that it needs to purge the css of classes we don't use.
If you run either of the commands now, for example npm run build-css-dev, you will see that it creates a tailwind.min.css file next to your tailwind.css file.
You are currently not using this file, so let's add it to your Blazor application.
Add the stylesheet link to your wwwroot/index.html file:
Running frontend build with app
Currently, when you start your app by running dotnet run, the css is not built automatically. To make it run automatically we can add a few more lines to your csproj file.
Open up your project file and add the new MSBuild targets to it:
You can see two targets in there. The first one will only run in Debug, and the second one is for your production build.
Running dotnet run will build the full, unpurged css for you, and running dotnet run --config Release will make sure the css is purged and only the used classes are remaining in the outputted css. It may seem scary to see more that 3 MB of css be created in the development build, but as soon as you run the production build you'll see the output css will be smaller by a large margin.